In this How to install Android Studio on Windows guide, we will show you how to download, install & setup Android Studio. This tutorial is installing the Android Studio Version 3.5.1 on the Windows 10 OS, but steps should work equally well with other flavors of windows like Windows 7 & Windows 8. First, we will check the Prerequisites required to install Android Studio. Next, we download the Android Studio. Finally, we will show you how to install Android Studio
Table of Contents
What is Android Studio
Android Studio is an integrated development environment to build, develop, test and distribute Android-based applications. The IDE is developed & maintained by google. It is built on top of JetBrains IntelliJ IDEA software.
We can develop apps for android in many ways. For Example, you can use Ionic, React Native, NativeScript, Java, Kotlin and now the latest flutter. Each employs different techniques to build the App. Frameworks like Ionic uses the Hybrid model, where you can build apps using HTML & Javascript and runs inside a native app shell in the device. The Apps using Java or Kotlin can runs natively in the device. The frameworks like React Native & NativeScript, which allows us to write in Javascript but converts them to the native code.
The Android Studio is preferred IDE when you choose Java or Kotlin as the language. But, even if you choose any other tool like Nativescript or React Native, you still need to install & Manage Android SDK and Android Emulator. These tools are part of the Android Studio and are installed along with it. Hence It is necessary to install the Android Studio.
How to install Android Studio on Windows
Prerequisites
OS & Hardware
- Microsoft® Windows® 7/8/10 (32- or 64-bit)The Android Emulator only supports 64-bit Windows (learn more).
- 4 GB RAM minimum, 8 GB RAM recommended
- 2 GB of available disk space minimum
- 4 GB Recommended (500 MB for IDE + 1.5 GB for Android SDK and emulator system image)
- 1280 x 800 minimum screen resolution
JDK
Android Studio since version 2.2 is comes bundled with OpenJDK 8. Hence there is no need to install the JDK separately. It is recommended to use the OpenJDK.
If you have an old Android project’s, which uses the JDK you can convert them to use the OpenJDK from the Android Studio menu, File > Project Structure -> SDK Location -> JDK location and check the Use embedded JDK
Downloading Android Studio
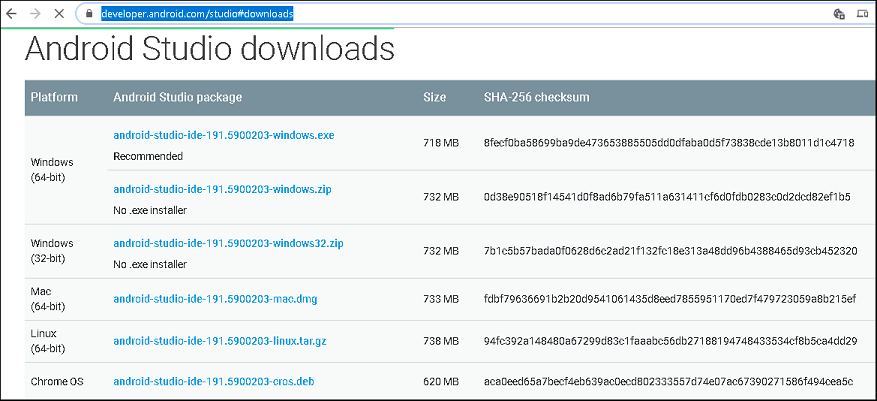
You can download it from the link https://developer.android.com/studio#downloads
Under downloads for windows, you can either download 64 bit or 32-bit versions. The 32-bit version can only be downloaded as a zip file, while 64 bit is available as exe installer.
The current version as of this writing this article is Android Studio 3.5.1
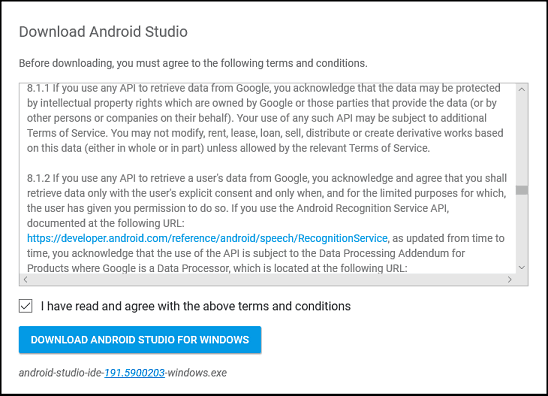
Next, accept the license agreement and click on “Download Android Studio for Windows” to begin download.
For 32 Bit Windows
1. Go to C:\Program Files.
2. Create a folder named Android.
3. Unzip the downloaded Zip file
4. Copy the folder Android-Studio from the unzipped file to the folder C:\Program files\Android.
5. Rename the folder from Android-Studio to Android Studio
6. Locate the Studio.exe and create a shortcut on the desktop
Installing Android Studio
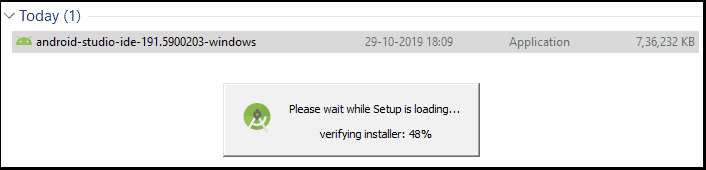
Double click on the downloaded installer to begin the Installation Process.
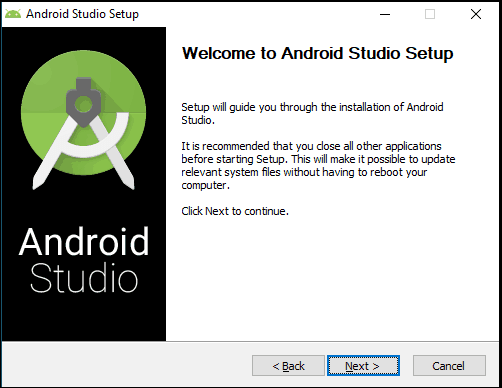
Click Next on Welcome to Android Studio Setup screen
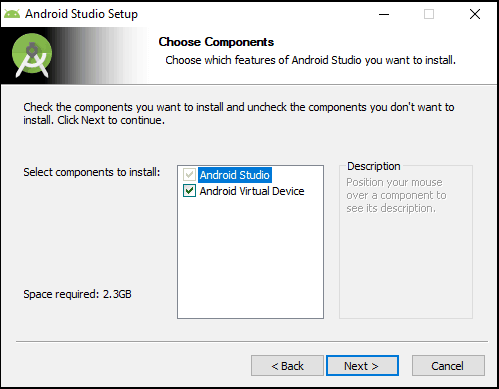
After the welcome screen, you will be presented with the option to choose the components. Select both the option and click on Next.
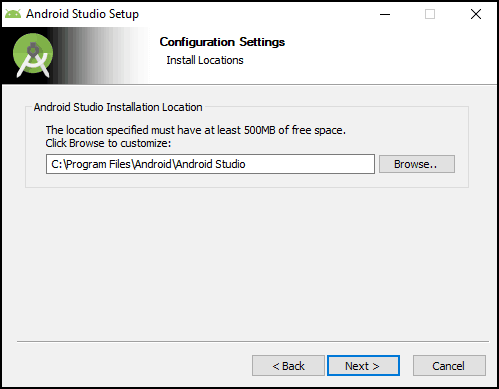
Next, choose the installation location. Accept the defaults and click on Next to continue.
The next window is about selecting the start menu folder. Accept the defaults and click on Install to begin the installation.

Completing the Android Studio setup screen appears once the installation completes.
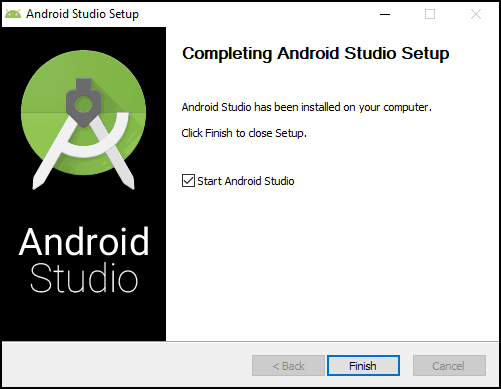
Select the Start Android Studio and Click on Finish. The Android Studio starts for the first time
Setup Android Studio
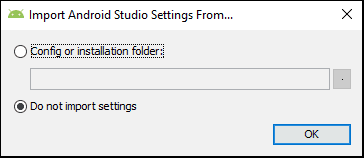
When you start Android Studio for the first time, it will ask you to Import the Studio settings. Since this is a fresh installation choose not to import settings and click on OK.
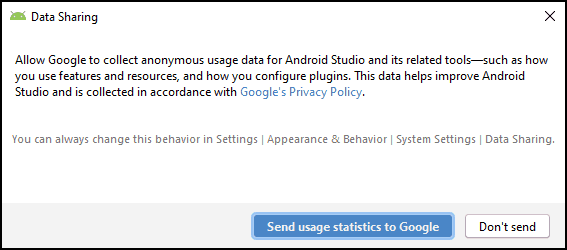
You may be asked to send the usage statistics to Google. choose accordingly.
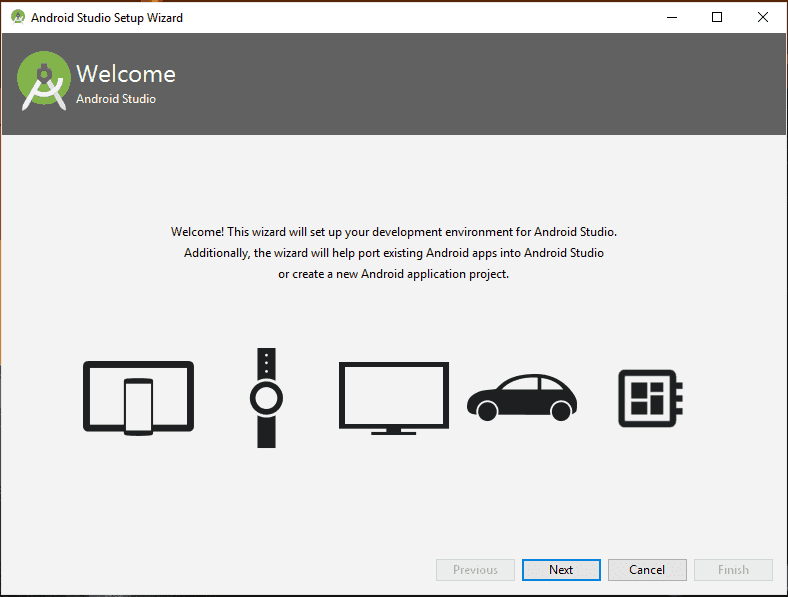
The Android Studio will download a few components and then displays the Android Studio Setup Wizard dialogue box as shown below. Click Next to continue.
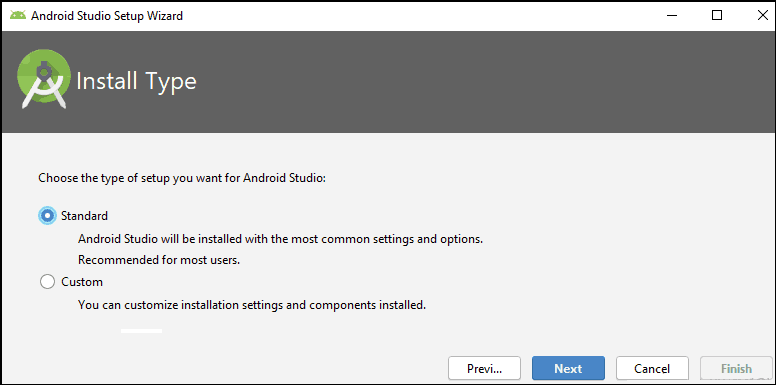
The second dialogue box asks for the install type. Select the default i.e. Standard and click on next to continue to next window.
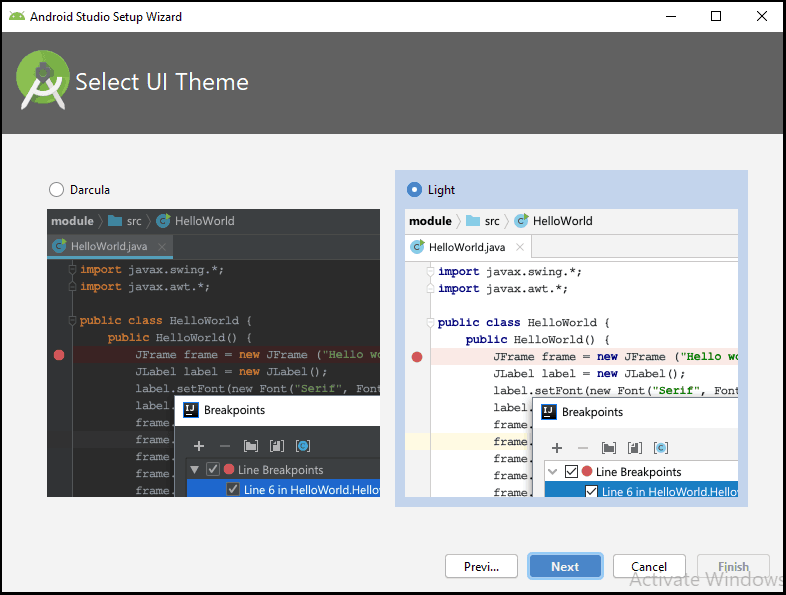
The next up is the select UI Theme screen with two options Light & Darcula. Let us keep the default Light theme.
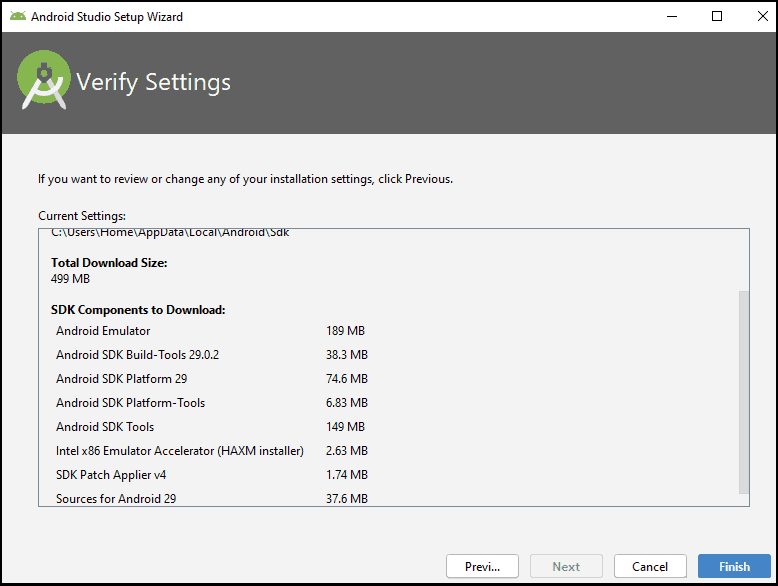
Finally, the Verify Settings dialogue appears, where you can verify the settings here. Click on Previous if you want to change any of the settings else click on finish to complete the installation.
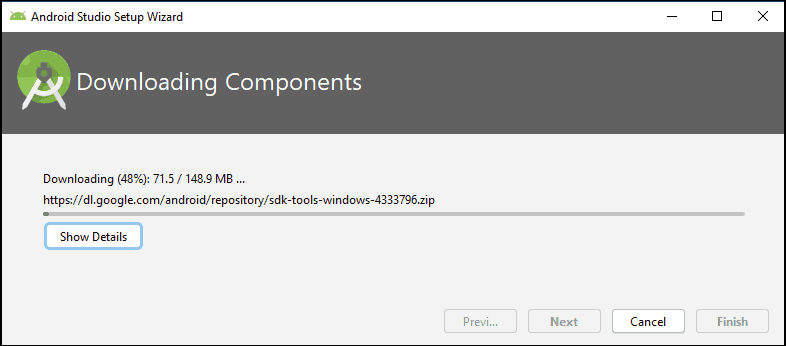
Now, the Android Studio setup wizard starts to download the various components and installs them in the system. This will take time depending on your internet connection.
You may see HAXM Installation Failed error here. It will happen under the following circumstances
- If the processor is non-intel based.
- If you have not disabled the Hyper-V Manager
Ignore them for now and continue.
If you are on intel based CPU, then HAXM is very important. without which Android Virtual Device (AVD) runs very very slowly.
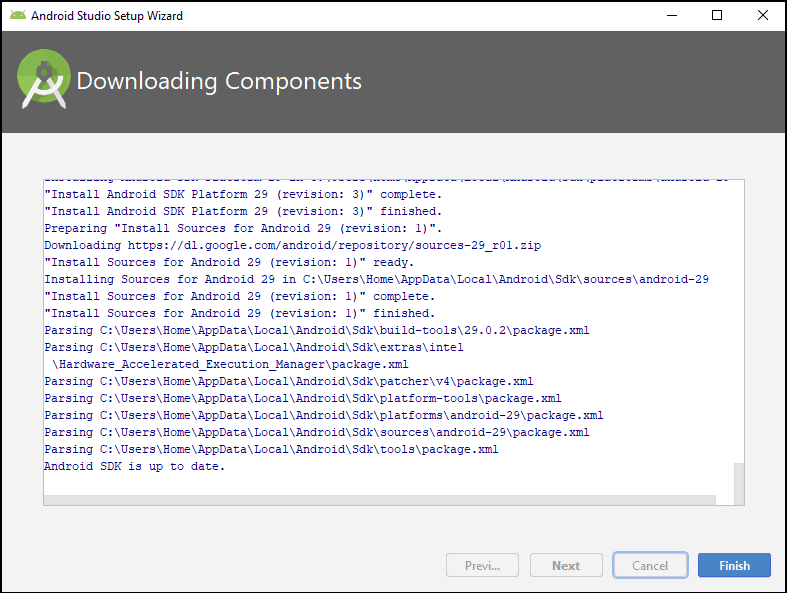
The following screen appears once all the essential components are downloaded and installed. At this point the Android Studio installation is complete.
Starting Android Studio
Once the installation and initial setup is complete, the Android Studio starts. Since it is the first time you are starting the Android Studio, it will be present you with the Welcome to Android Studio screen as shown below
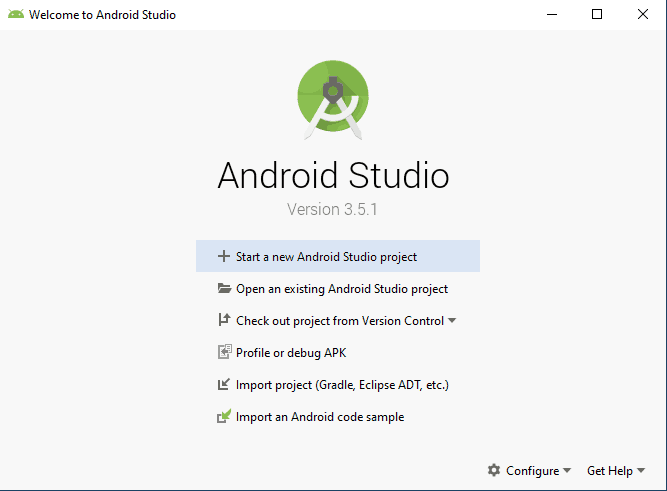
Usually, Android Studio automatically opens the last Opened Project. But since it is a new Android Studio installation it will not open until you create a new project or open an existing one. Hence we will create a new project. Click on Start a new Android Studio Project.
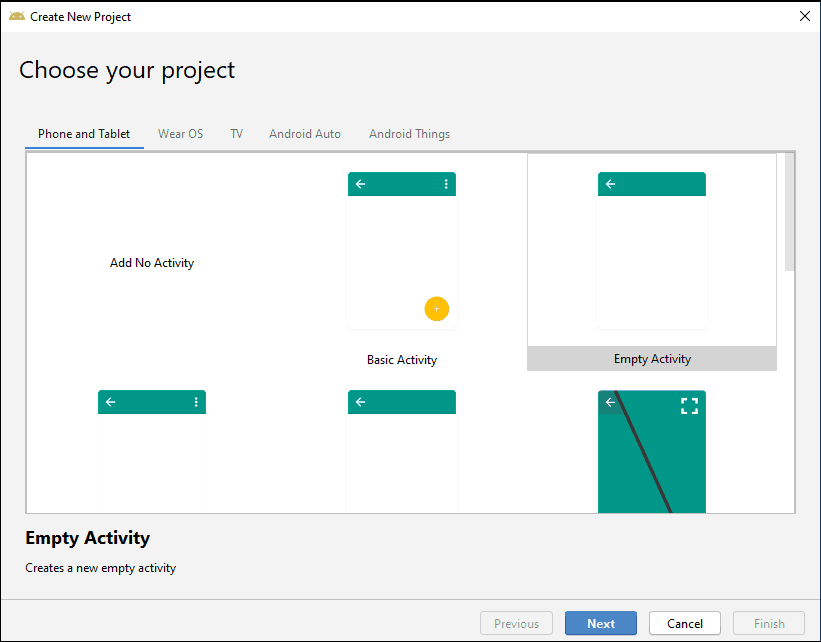
The Create New Project appears. The first option is to select the type of activity. Choose Empty, which is the default and click Next.
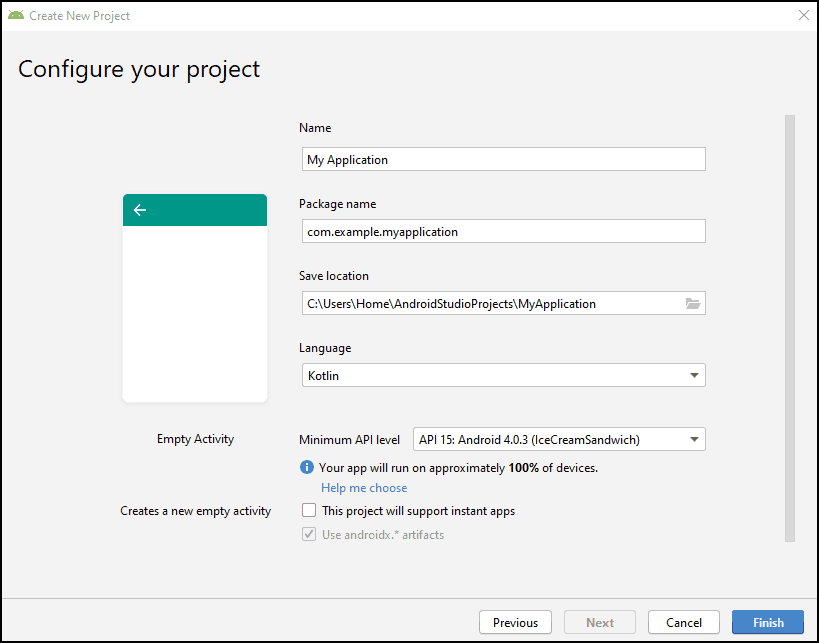
Configure your project is the next screen. It will ask for the name of the Application, Package Name, Project path, language, and API Level. Keep the defaults and click on Finish.
Android Studio may start a few more downloads. Wait for it to finish. Once everything is downloaded and installed, the new project is created and you are taken to the Android workspace.
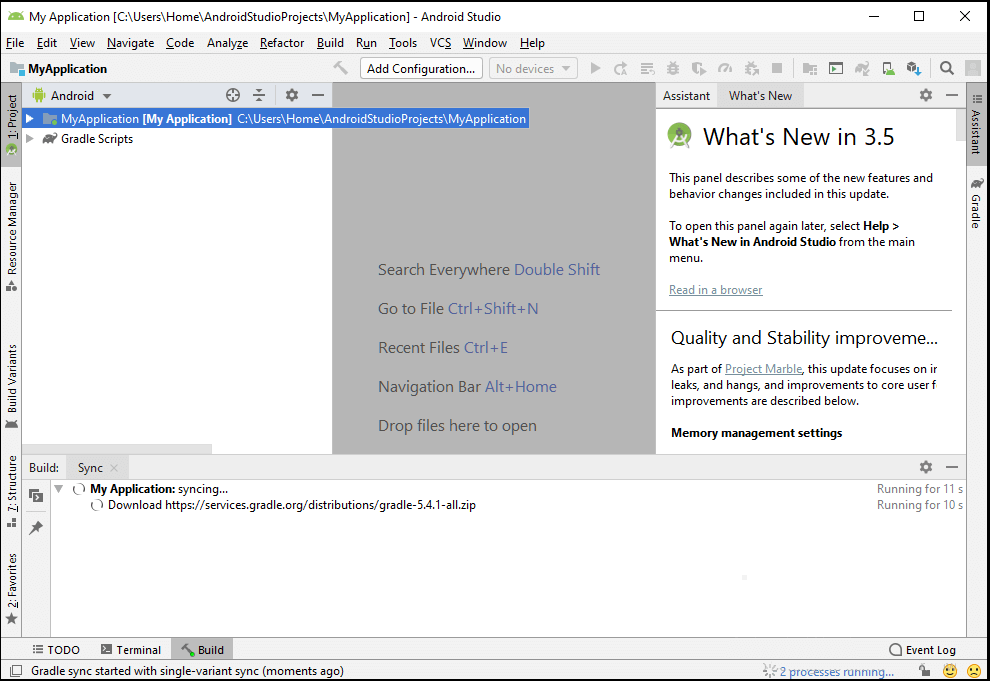
Now, you have completed all the installation steps and Android Studio is now ready to use
But before starting to build the Android Apps, there a few more things to be taken care of like Installing & Setting SDK & Android Emulator. We have covered them in the following Tutorials.
Android SDK Tutorial
Summary
We learned how to download, install and setup Android Studio in a Windows OS. We used the Windows 10 OS, But it will work any other flavors of windows like Windows 7 or Windows 8.

I just installed Android Studio on my Windows 10 laptop and it was really easy! Thanks for the great tutorial!
HAXM Yükleme Başarısız hatasını nasıl giderilir
good
thanks to your tutorial