In this tutorial, we get started by building an ASP.NET Core Hello World application. We will use Visual Studio 2022 as our editor. The application will use the ASP.NET Core empty template, which displays “Hello World”. We also learn how to build and run the Hello World App using the dotnet CLI (dotnet command-line utility).
Table of Contents
Build the ASP.NET Core Hello World App
Before starting, Install the .NET SDK, Visual Studio 2022 Community Edition, & ASP.NET Core.
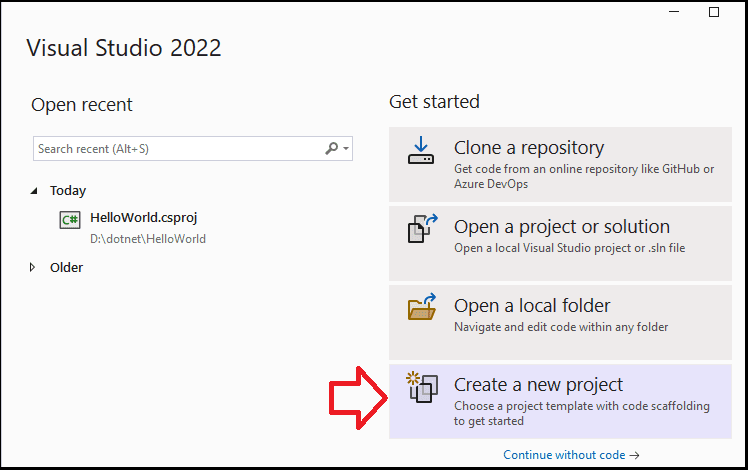
Open Visual Studio 2022. It will display the following dialog box. In the left-hand pane, you will see a recently opened project. In the right-hand pane, you have a Create a new project option. Click on that to create a new project. It will open the “Create new project” dialog box.
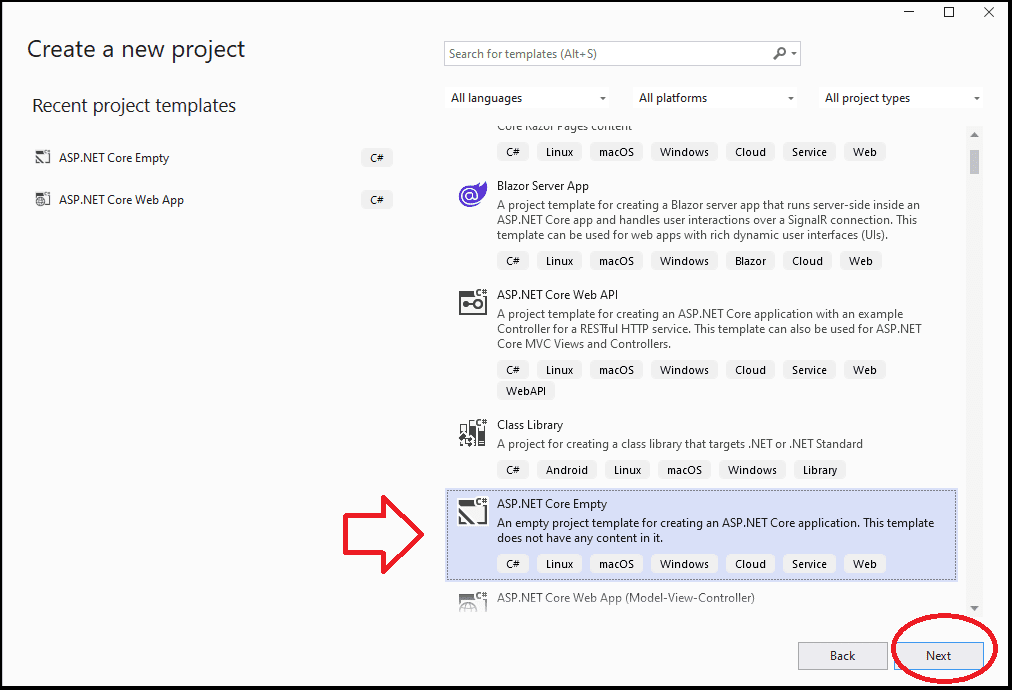
In the “Create new project” dialog box. The left-hand pane displays a list of available templates, while the right-hand pane displays the recently used project templates. Locate the ASP.NET Core empty template and click Next.
Note that if Visual Studio is already open, you can choose File -> New -> Project to open the “Create new project” dialog box.
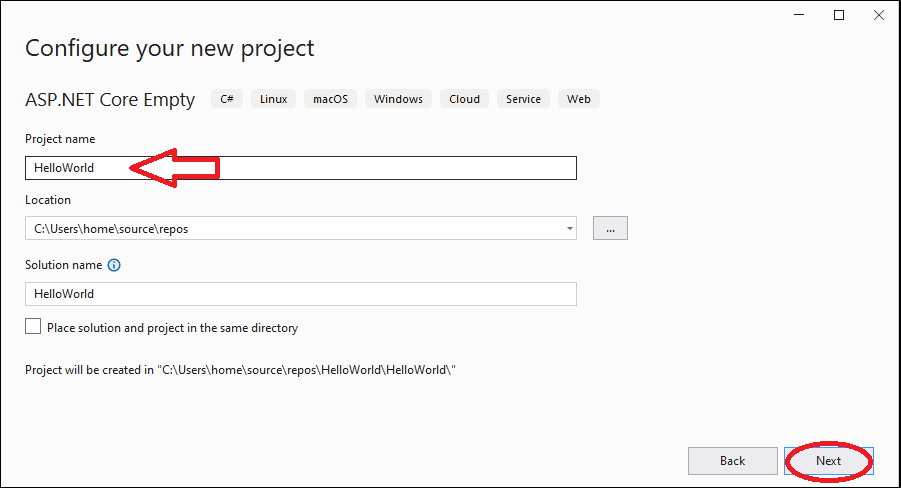
The following window is “Configure your new project.” Enter the name as “HelloWorld.” You can change the project location (the folder where project files are saved) and solution name from here.
The next window will ask you to provide additional information about the project.
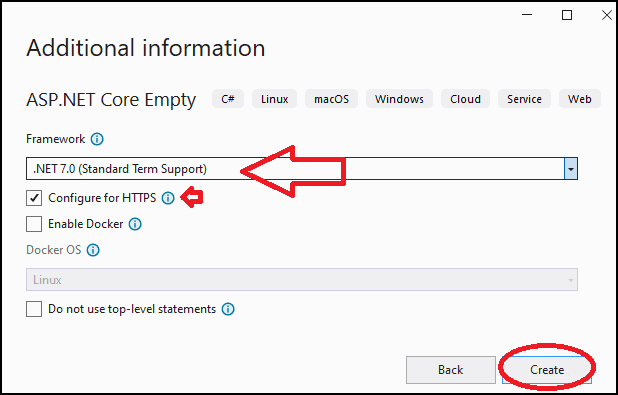
Here you have to make a few choices
Framework
The First Dropdown displays the Framework. It has four options .NET Core 3.1, .NET 5.0, .NET 6.0, and .NET 7.0.
Choose the latest.NET 7.0
Enable Docker
The Docker support is added in Visual Studio 2017, allowing .NET Applications to run inside a Docker container.
Keep it unchecked
Configure for HTTPS
You can select this option if you wish to enforce HTTPS. Keep it selected.
Authentication
The Authentication option does not appear because we chose the Empty Project.
We can choose the authentication method to use in the application. We can select None, individual, Microsoft identity Platform, or windows authentication.
Click on the Create button to create the Project. Visual Studio creates the project with the minimum settings required to start building the ASP.NET Core web applications.
Running the App
Hitting F5 to run the app (or debug -> Start Debugging menu option).
If you have chosen “Configure for HTTPS“, a self-signed SSL certificate will be installed when you run it for the first time. The dialog box will confirm whether you want to trust the certificate. Click on Yes to Continue.
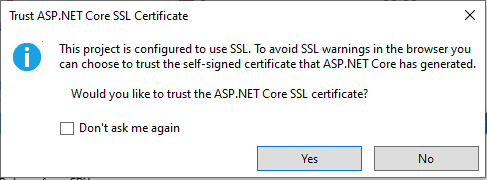
Another warning. click on Yes to continue.

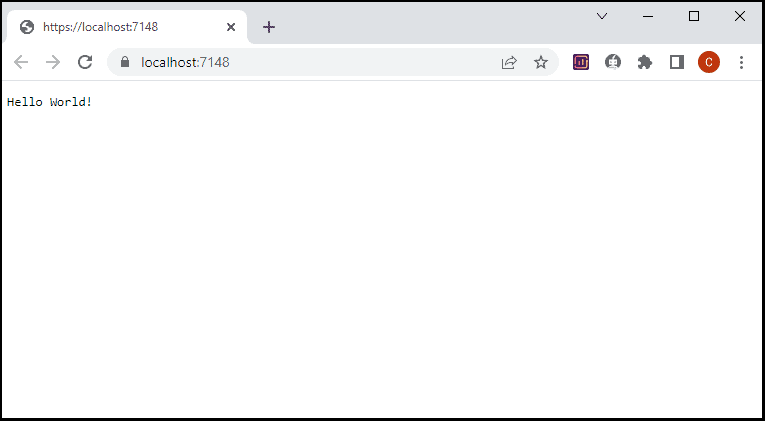
You will see “Hello World” in the browser.
Debug Profiles / Launch Profiles
We can launch the ASP.NET core applications from Visual Studio 2022 by Hitting F5 or selecting the debug -> Start Debugging menu option.
You can launch the ASP.NET core application in five ways. They are
- http / https (project)
- IIS Express
- WSL
- IIS
- Executable
The Visual Studio automatically creates the four launch or debug profiles. They are http, https, IIS Express & WSL You can see them from Debug Profiles/Launch Profiles drop-down.
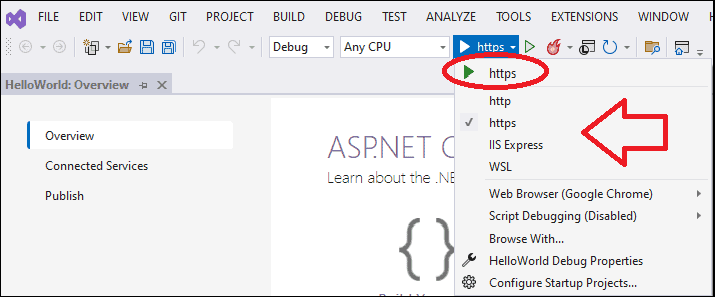
http / https
https is the default launch profile. It uses the embedded kestrel web server to run the application.
The Kestrel is open-source, cross-platform, event-driven, asynchronous I/O-based HTTP server. It is developed to host ASP.NET Core applications on any platform. It is included by default in the ASP.NET Core applications.
IIS Express
You can run the app using the IIS Express by choosing the IIS Express from the launch profile. IIS Express will choose a random port number to start your application.
IIS Express runs as a reverse proxy and calls Kestrel behind the scenes.
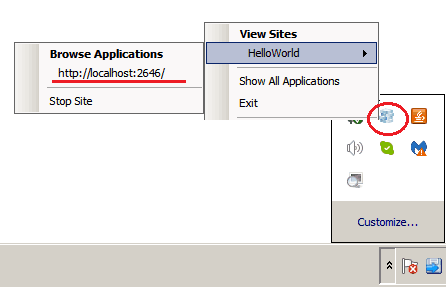
The IIS Express icon appears at the bottom right-hand side of the taskbar, as shown in the image below.
WSL
The WSL stands for Windows Subsystem for Linux.
This allows us to run the application using the Linux distribution under Visual Studio. To use that, you need to install a Linux distribution. You can refer to the article on how to install WSL in Windows.
It uses the embedded kestrel web server to run the application
IIS Server
You can also use the IIS Server to launch the application. But we need to create the Launch Profile for that.
Executable
You can also create a self-contained executable file and run the application. Again we need to create a launch profiler for that.
Running the App Using Dotnet Run
We can also run the program using the dotnet CLI command-line utility
Open the command window and go to the project root folder. The root folder is where you will find the HelloWorld.csproj file
And type the command dotnet run The project runs and listens on port 5185

Output files
When we build the (F5 or Ctrl-F5), the project is compiled, and compiled files are copied to the output folder, which is bin/<configuration>/<target>.
The <configuration> is the name of the build configuration used. It is either debug for debug builds or release for release builds.
The <target> is TargetFramework used. Since we have chosen net7.0 the target folder becomes net7.0
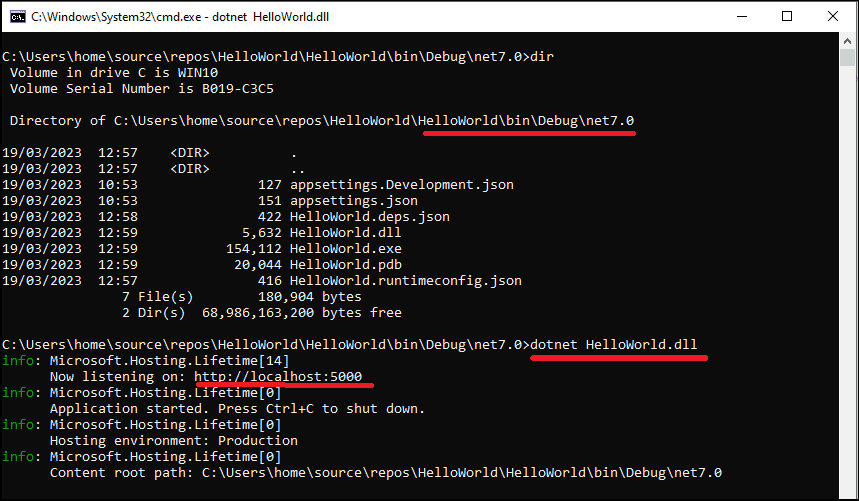
For a build using the debug configuration, the compiled files are copied to bin/debug/net7.0 under the project directory.
Open the command prompt and cd into the output folder, as shown below. Now, you can execute the program from here by using the command dotnet helloWorld.dll The App will run and listen on port 5000. Open the browser and browse to the location http://localhost:5000 and you should see “Hello World”.
Building the Project from the command line
We can also build the project from the command line using the dotnet CLI
Open the project and go to the solution root folder, where the .sln file is located, and just run.
dotnet build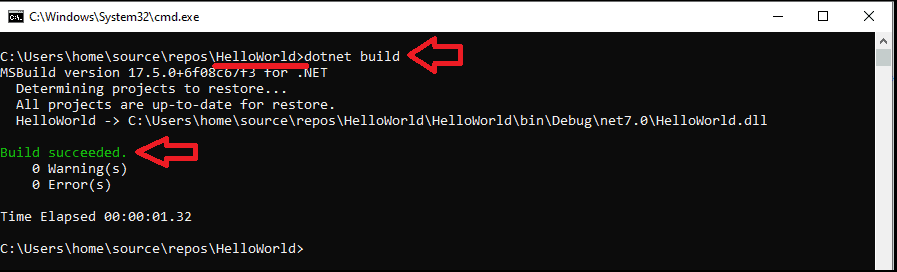
Summary
- Visual Studio 2022 provides a lot of templates to scaffold a new web project.
- To Create an Empty ASP.NET Core web application, use the ASP.NET Core empty template.
- By default, VS creates the four launch profiles. They are http, https, IIS Express & WSL. http & https uses the kestrel web server to run the app.
- The WSL stands for Windows Subsystem for Linux. This option helps us to run the app under Linux. To do that, first, you need to install a Linux distribution using WSL.
- You can also run the app under IIS Server or from a self-contained executable. For Both, you need to set up a launch profile. You can refer to the tutorial LaunchSettings.json to create a new launch profile
- Using the dotnet CLI command line tools is another way to run the application. Open the command prompt, go to the project folder, and run the command
dotnet run. It will use the kestrel web server to run the app.